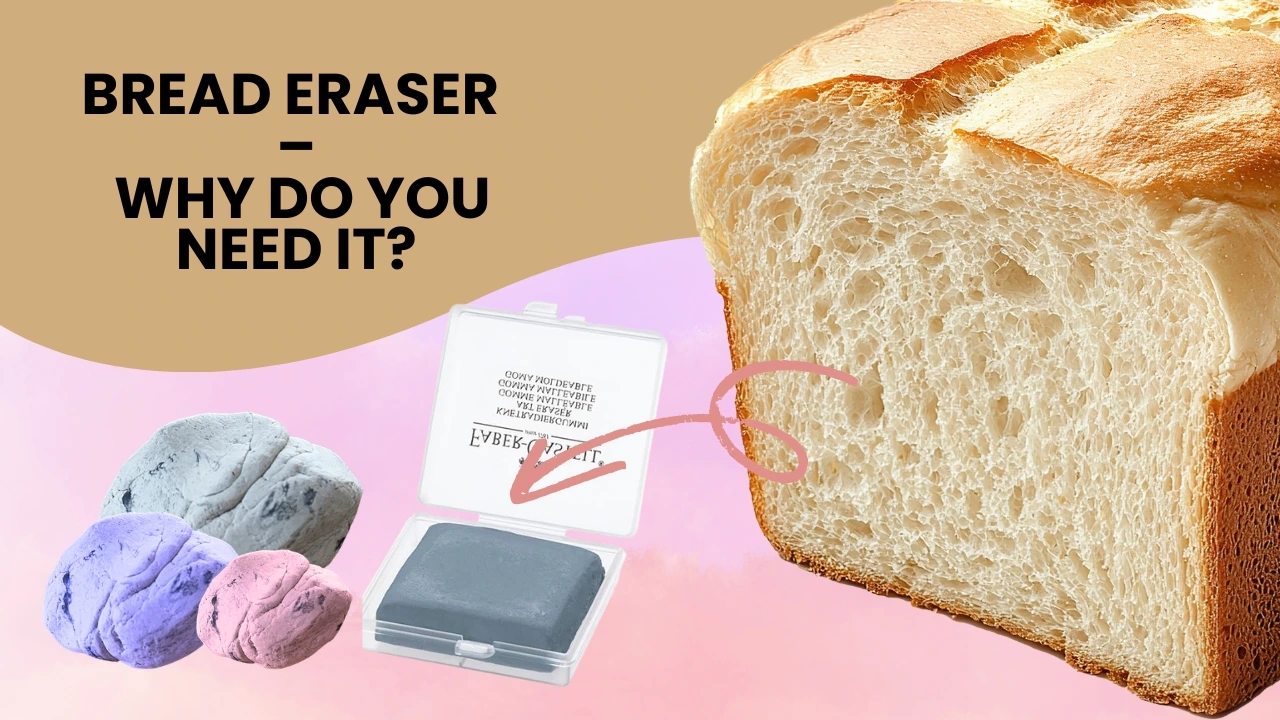
Hello Artist! Today I’ll tell you about the bread eraser and why do you need it. Also called a kneaded eraser, or simply – kneadable eraser. Because even though it looks unassuming, it can work wonders.
It’s especially useful for shading, but it’s also great for sketches. Though I have to admit, when I first held one in my hand, I wasn’t entirely sure what I was supposed to do with this lump of material.
In this blog:
- Bread eraser vs. traditional eraser.
- A little bit of history – but I promise it won’t be boring.
- Why is it worth befriending a bread eraser?
- How to use a bread eraser?
- What is a bread eraser not suitable for?
- Bread eraser vs. other erasers – a quick summary
- How to care for a bread eraser?
- Conclusion.
Bread Eraser vs. Traditional Eraser
Should we give up on a regular eraser if we have a bread eraser?
Well, no, both have slightly different uses, even though naturally, both erase.
But let’s start with the basics: what is a bread eraser and how is it different from a regular eraser?
A bread eraser has the consistency of dough. It’s soft and pliable you can knead it, bend it, stretch it, divide it into smaller pieces, and shape it however you want.
And most importantly it doesn’t erase in the traditional sense. A bread eraser “lifts” graphite from the paper. It absorbs it into its structure like a sponge. This means it doesn’t damage the paper’s texture, doesn’t leave scratches, and gives you incredible control over what you’re doing. It also doesn’t leave behind any eraser crumbs.
A Little Bit of History – But I Promise It Won’t Be Boring
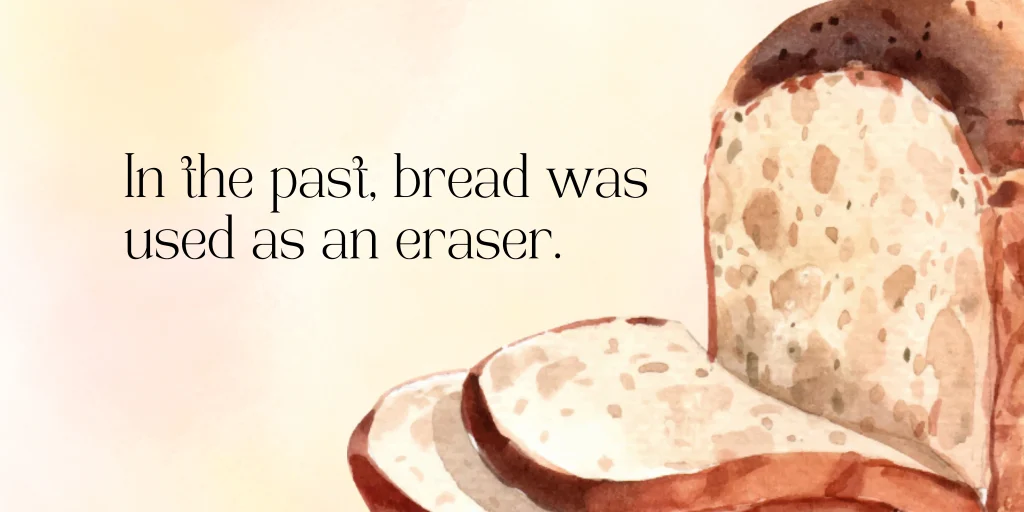
Long ago, before synthetic erasers were invented, artists used breadcrumbs. They’d cut off the crust, form a small ball or a kneaded lump, and gently press it against their work to achieve the effect I mentioned earlier not erasing, but ‘lifting’ graphite or chalk without damaging the paper or leaving unwanted marks.
So, as you might guess, the name is no coincidence it comes exactly from what you could call the centuries-old original.
Why Is It Worth Befriending a Bread Eraser?
It Doesn’t Damage Paper
This is probably the biggest advantage. You can use it on the most delicate, soft papers, even parchment. Because you don’t rub a bread eraser you press it the paper doesn’t fray, wear thin, become shiny, tear, lose its structure, texture, or weaken its fibers. With a bread eraser, you stamp, roll, drag, and press but you don’t rub. This is especially helpful for people who sometimes press too hard when erasing or haven’t yet developed a feel for it.
It Creates Precise Highlights
A bread eraser is the perfect tool for bringing out highlights. You can shape it into a thin, sharp “point” and create the most delicate, thin, fine details on a shaded surface. Want a subtle glint in the eye? A thin line along a contour? Or maybe highlights in hair? A bread eraser will help you with that it’s excellent for details.
It Softens, Doesn’t Erase Completely
Often we don’t want to remove a line entirely just lighten it, soften it, give it a suede-like character. Just press a piece of the eraser onto a drawn line, and it will “lift” the excess graphite, leaving a subtle trace. This is a great way to build depth and texture.
It’s also perfect for moments when you have a sketch and you want it to be guiding but more subtle. If you’ve ever seen an artist who ‘weakened’ a sketch before shading or painting with markers, I guarantee they were using a bread eraser.
It’s Always Clean
You knead the eraser, and all the dirty graphite “hides” inside. You always have a clean surface to continue working with. No gray bits scattered across your desk, and the eraser lasts a long time though I won’t deny that sometimes you need to replace it. How often? Of course, it depends on how often you use it and how much you use it. But I can definitely say that if instead of absorbing graphite it starts leaving dirty marks, or no matter how many times you knead it nothing changes, it’s probably time to replace it.
How to Use a Bread Eraser?
First and foremost and this is the more enjoyable part you can, and even should, play with a bread eraser. You need to knead it first, work it in your hands.
Warm it up in your fingers until it becomes soft and pliable. If you have exceptionally cold hands, you can leave it next to a glass of warm water to absorb the warmth from the water.
And for anyone who’s ever had doubts or wondered yes, you can tear it into smaller pieces and later stick them back together; it won’t affect its performance or consistency.
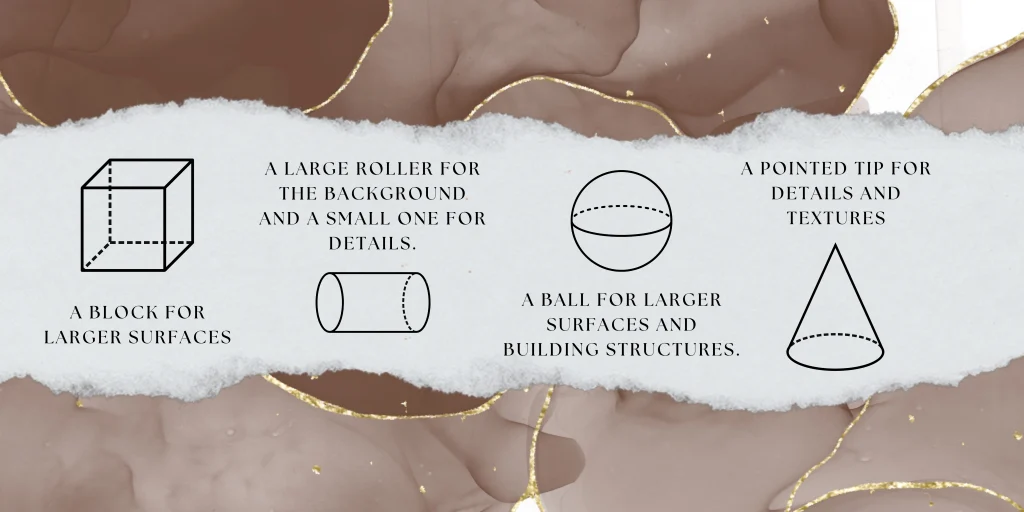
Method One: Stamping
Knead a piece of the eraser into a ball, a cylinder, or whatever shape feels comfortable to hold. Press it onto the areas you want to lighten. The harder and longer you press, the lighter the effect. This way, you can create fantastic textures light reflections, clouds, soft tonal transitions. It’s a good idea to test this effect on a separate sheet first before using it on your drawing. But fortune favors the bold, so don’t be afraid to play around with it.
Method Two: Precise Erasing
Shape the eraser into a thin roll or flatten it into a small spatula-like shape. Now you can “pull out” light from the smallest details – the iris of an eye, strands of hair, reflections on glass. This takes practice, but it gives amazing results.
Method Three: Lightening Large Areas
Flatten the eraser into a pad-like shape and drag it across the paper like a sponge. Great for lightening larger parts of a drawing when you’ve overdone the shading or want to achieve a hazy effect or a textured background.
What Is a Bread Eraser Not Suitable For?
I’ve sung its praises plenty, so now let’s be fair. A bread eraser isn’t ideal for everything, and it doesn’t work for everything.
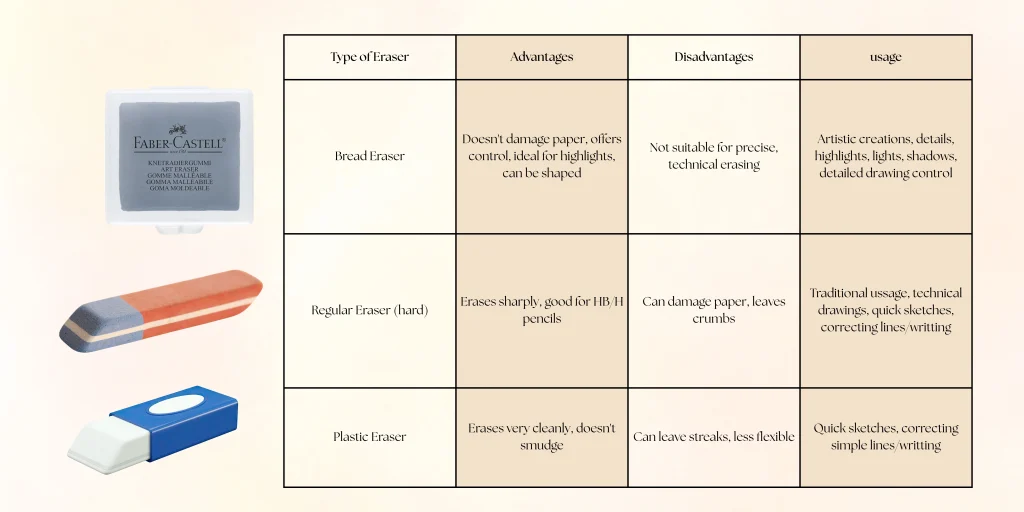
It won’t work for clean, geometric technical drawing where you need sharp, precise correction. For that, a regular hard eraser (e.g., Faber-Castell) is better. It’s also not suitable for ink it won’t remove it, just smudge it. (I mention this because I wrote earlier that it works like a sponge, and it is, but not for liquid-based media.)
A bread eraser is a tool for artistic drawing soft, full of nuance.
You should also know that a bread eraser isn’t a perfect tool. Sometimes, if you add graphite and lift it with the eraser repeatedly in the same spot, it may eventually stop working effectively.
Also, if you create a very dark area, e.g., with a 9B pencil pressed firmly, the eraser will of course lift some of it, but it definitely won’t give you a perfect transition down to, say, an HB, so you need to use it logically.
Bread Eraser vs. Other Erasers – A Quick Summary
Who Is It Best For?
A bread eraser is a must-have for:
- Draftspersons using soft pencils (B, 2B, 4B, 6B)
- Artists working with charcoal, sanguine, pastels
- Sketchers who appreciate a soft, artistic finish
- Anyone who is afraid of damaging delicate paper – I definitely recommend it for beginners. I made that mistake myself and learned to draw without it, which is why many years later, when I finally held one, I wasn’t entirely sure how to use it.
Why? If you’re just starting out, don’t be afraid to play with it and learn. The experience you’ll gain, even before you fully master it, will be invaluable.
How to Care for a Bread Eraser?
A bread eraser doesn’t need much, but a few things are worth knowing:
- Store it in a box or wrapped in foil. It collects dust and gets dirty if left out.
- When it turns gray from graphite, simply knead it. The dirt will get absorbed inside, and the surface will be clean again.
- There’s no point in washing it. When it’s too dirty (black, hard, loses elasticity), it’s time to just buy a new one. They’re cheap and not too hard to find.
- In heat, it becomes softer; in cold, it hardens. This is normal, so don’t worry about it.
Conclusion
I definitely recommend getting a bread eraser, whether you’re just starting out or are already experienced in drawing. It will certainly help you build light, details, texture, reflections, and other things that might have been difficult before.
It doesn’t cost much, but it can change your life.
What about you? Do you use a bread eraser? Do you have any tried-and-tested tricks? Share them in the comments!